View original image View dithered image
Hi Kris,
I’ve been reading your website for quite a while. It’s one of my favourite blogs. Thank you for what you are doing!
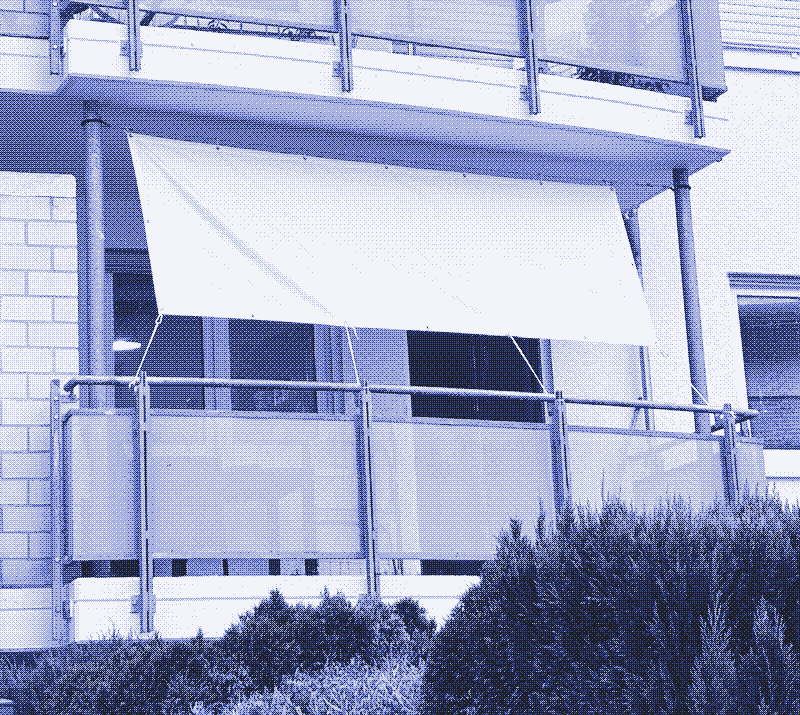
We are currently experiencing a heat wave in Germany, so I drew inspiration from Low-tech Magazine’s article “How to Dress and Undress your Home” and built an awning on my balcony. I documented the process so that other readers can install one themselves.
The overall cost for my build was around 50 Euros, but you can do it much cheaper by using upcycled materials. It requires only a few tools to build, so almost anyone can reproduce it.
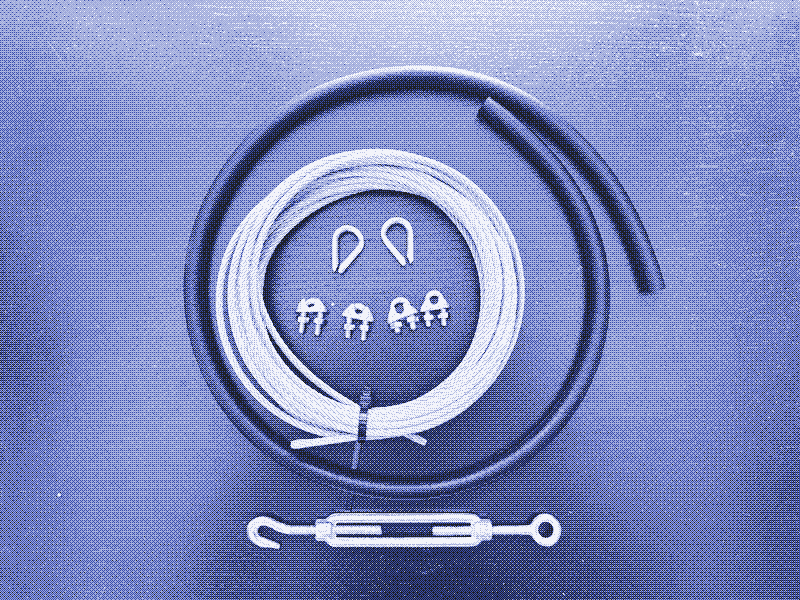
Required materials
- Steel cable (or rope). I went with a 4 mm galvanized steel cable. I want the build to be sturdy and be able to withstand strong winds. A 3 mm cable would probably work as well. Warning: Some inexpensive steel cables have a plastic outer shell, which may reduce their strength due to the smaller diameter of the steel cable. For example, a 3mm cable would have a 2mm or 1.5mm steel core. You could also use rope instead of steel cable, which will be cheaper.
- 1 x turnbuckle
- 2 x cable thimbles
- 8 x cable clamps. There are different styles of clamps. The one I’ve chosen is also used in heavy construction.
- 1m petrol hose with 6mm inner diameter.
- 1m x 3m awning fabric. The distance between eyelets should be 50 cm.
- 7 carabiners. This number depends on the number of eyelets you have and the number of attachment points you will use.
- Some paracord. It comes with the awning fabric, and I have no idea how long it was.
View original image View dithered image
- Wrench or spanner for cable clamps
- Something to cut the steel cable. Here are some options:
- Metal chisel and hammer
- Cable cutter
- Hacksaw
- Angle grinder
- Hardware shops will cut the cable to the desired length
Source links
Building steps
Measuring
View original image View dithered image
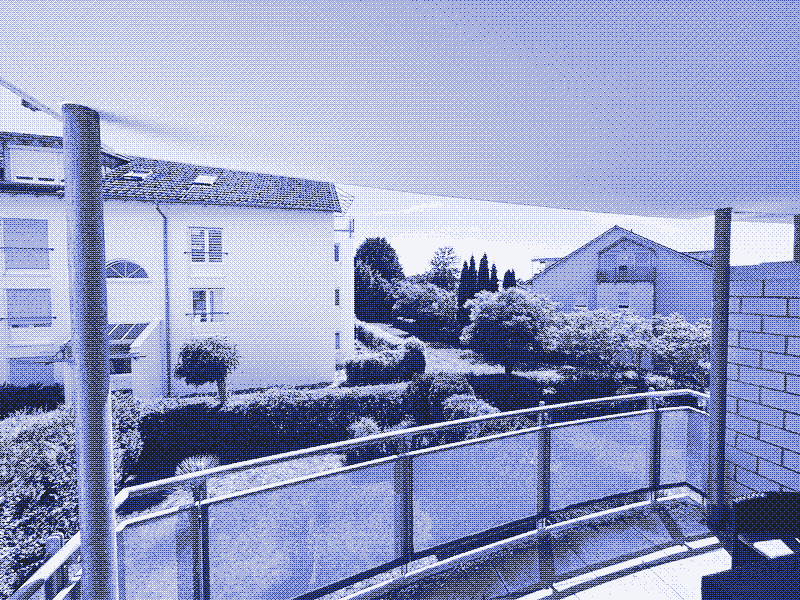
The required cable length is the distance between the posts plus one or one and a half meters. It’s better to have a little more cable than you need. It’s easy to cut extra wires, but it isn’t very easy to join cables if you don’t have enough. In my case, the distance is 3.8 m, and I used just under 5 m of cable.
Prepare the cable
The upper support for the awning consists of two pieces. The shorter piece is attached to the left post and has an eyelet. The longer piece is fixed to the right post and has a turnbuckle attached to the other end.
Tip: Wrap the area where you plan to cut the cable with electrical tape to prevent fraying. See this video.
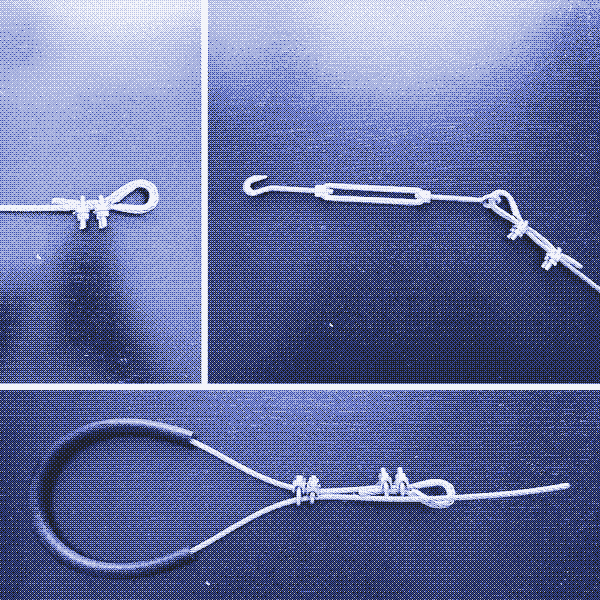
The images below illustrate an example of how to use a thimble and cable clamps to secure the turnbuckle. You are probably fine using just one clamp, but for safety, I opted for two clamps. You should tighten the clamps very well until you see some deformation on the cable. Always place the loaded end of the wire on the base of the clamp and the free end on top of it.
The image at the bottom shows how the shorter piece of cable should look before the installation. The hose has two functions. It prevents damage to the posts and provides a perfect grip to avoid slipping. The image in the top right corner shows how the turnbuckle is attached to the longer piece of cable.
View original image View dithered image
At this point, I finished all the preparations I could do inside the house.
Assembling
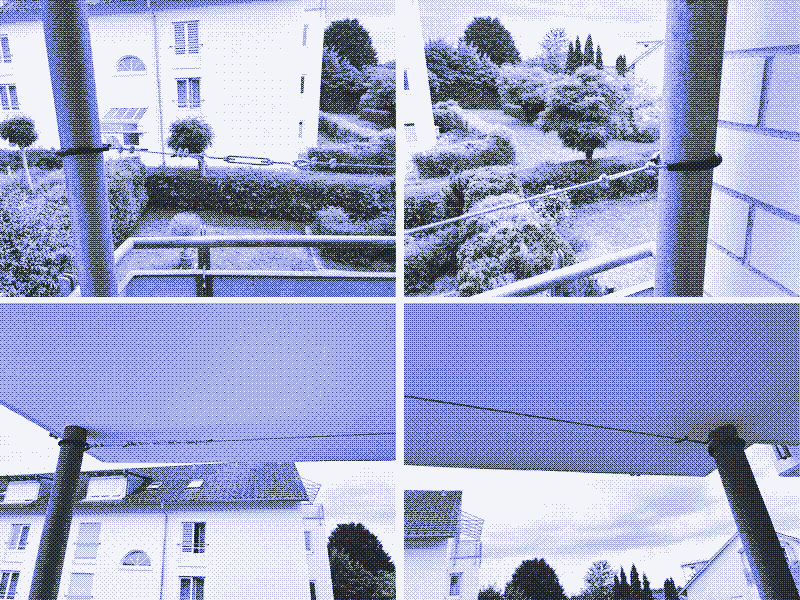
Now it’s time to move outside and start final assembling. When tightening the cable around the post, leave some slack. You should be able to adjust the cable up and down to suit your needs later.
You need to unscrew the turnbuckle fully. There should be no tension on the cable between the posts. You should be able to get the hook on and off easily. Now, you are ready to position it as desired. Use the turnbuckle to put tension on the cable.
View original image View dithered image
Fasten the fabric
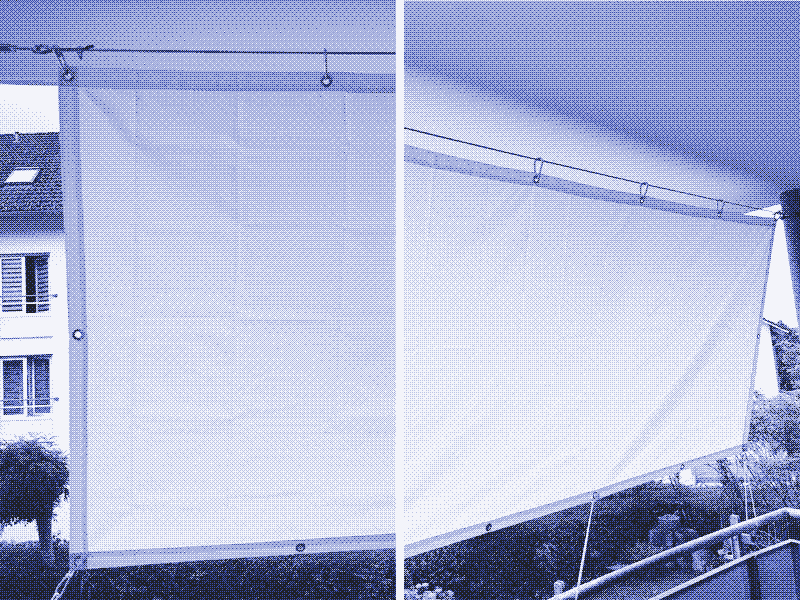
Use carabiners on every top eyelet. You can use carabiners or rope to secure the bottom of the fabric to the railings.
View original image View dithered image
Final result
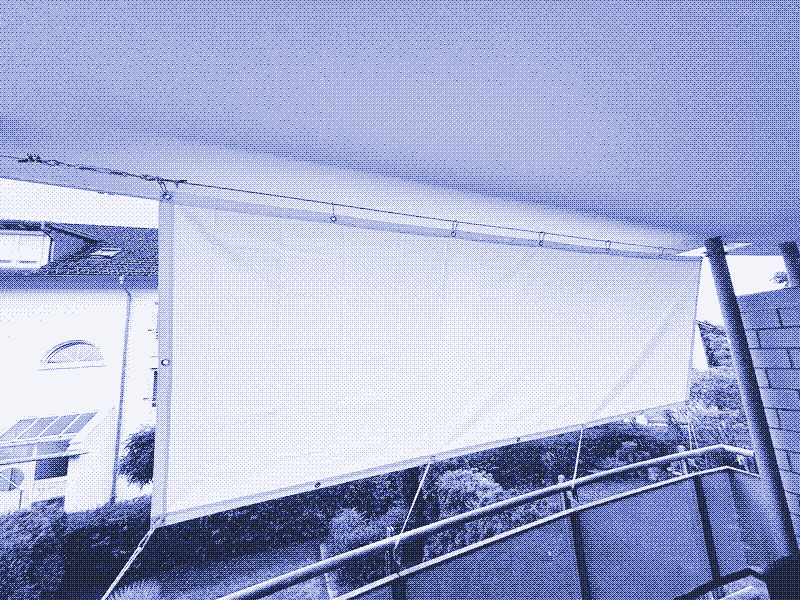
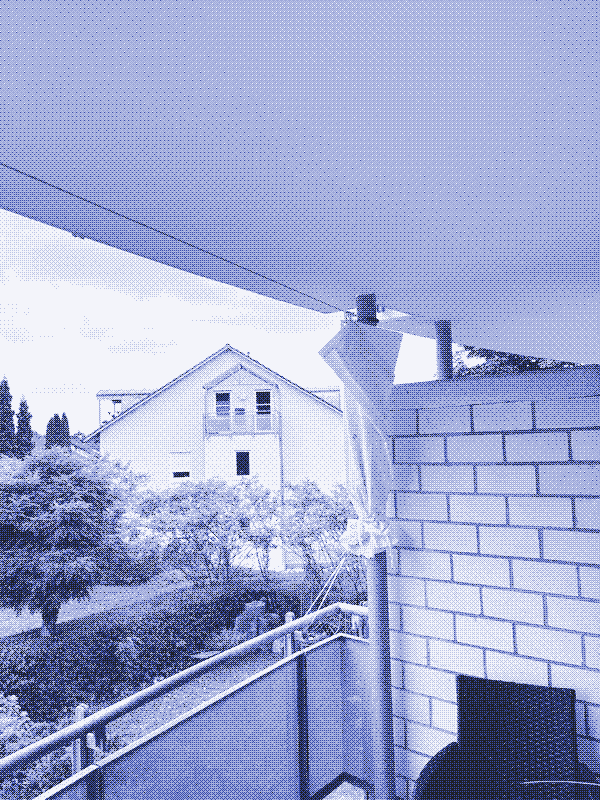
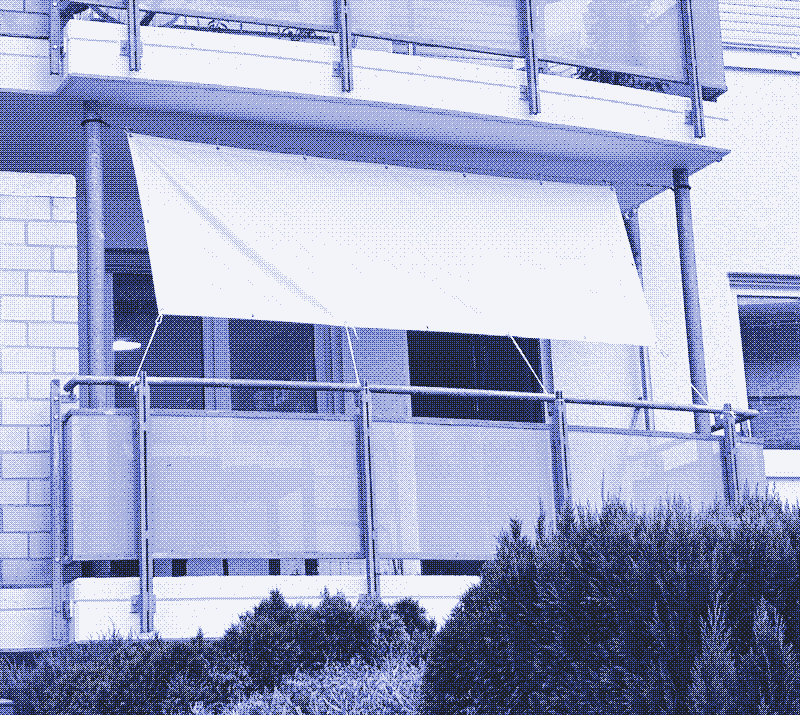
I’m happy with the outcome. I can finally spend time on my balcony, even on sunny days. There was way too much sun in the summer as my balcony faced south.
View original image View dithered image
View original image View dithered image
View original image View dithered image
Retrospective
What went well?
- Excellent protection from the sun, and I saved quite some money
- The choice of materials was quite good in terms of quality
- It’s easy to operate. It takes less than 30 seconds to fold and unfold it.
- The build is very sturdy and can withstand wind. It handles medium-strength wind without any issues. I’m waiting for a strong wind to test.
What can be improved?
- I purchased an awning fabric that was slightly too small. It would be better to have a 1.5m x 3m area. I had to experiment to find the best position for the awning.
- I have some leftover hardware, including hose clamps and turnbuckles. I could save some money by buying everything separately in the local shop.
- I’m still thinking about how to fasten the bottom of the fabric in a better way. An elastic cord might be a good option.
Wall and ceiling mounts
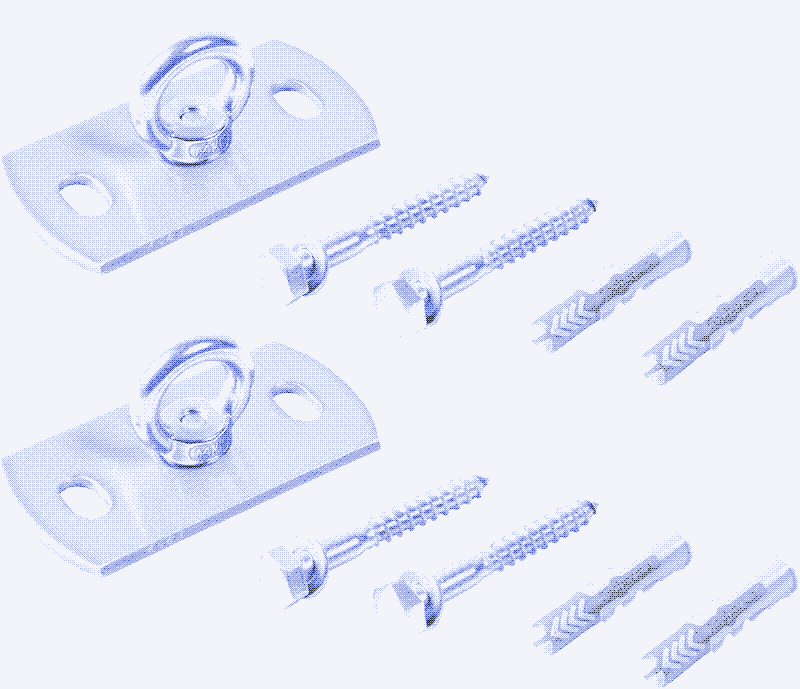
If you don’t have a post to attach the cable, your only option is to attach the cable to the wall or ceiling. Wall and ceiling mounts come in many different forms and shapes. It should be able to handle at least 100 kg, as wind gusts might be pretty intense. Generally, the stronger it is, the better. It uses screws and dowels to attach to the wall. It will require tools for drilling, such as a hammer drill and a drill bit suitable for the type of wall material being used.
You can use the keywords “ceiling hook,” “hanging chair mount,” or “eyelet plate” to find it online.
Below is an example of a complete set from the Toldoro manufacturer.
View original image View dithered image
Safety precautions
Learn how to safely use all tools before starting. Read manuals or watch quick guides if needed.
Wear gloves when handling steel cables. Frayed ends can cause cuts or puncture wounds on your skin.
Use a stable stepladder for installing upper lines. Place it on flat ground and don’t overreach. Consider having someone nearby to assist.