30th March 2024
I attended the Story Discovery At Scale data journalism conference at Stanford this week. One of the perennial hot topics at any journalism conference concerns data extraction: how can we best get data out of PDFs and images?
I’ve been having some very promising results with Gemini Pro 1.5, Claude 3 and GPT-4 Vision recently—I’ll write more about that soon. But those tools are still inconvenient for most people to use.
Meanwhile, older tools like Tesseract OCR are still extremely useful—if only they were easier to use as well.
Then I remembered that Tesseract runs happily in a browser these days thanks to the excellent Tesseract.js project. And PDFs can be processed using JavaScript too thanks to Mozilla’s extremely mature and well-tested PDF.js library.
So I built a new tool!
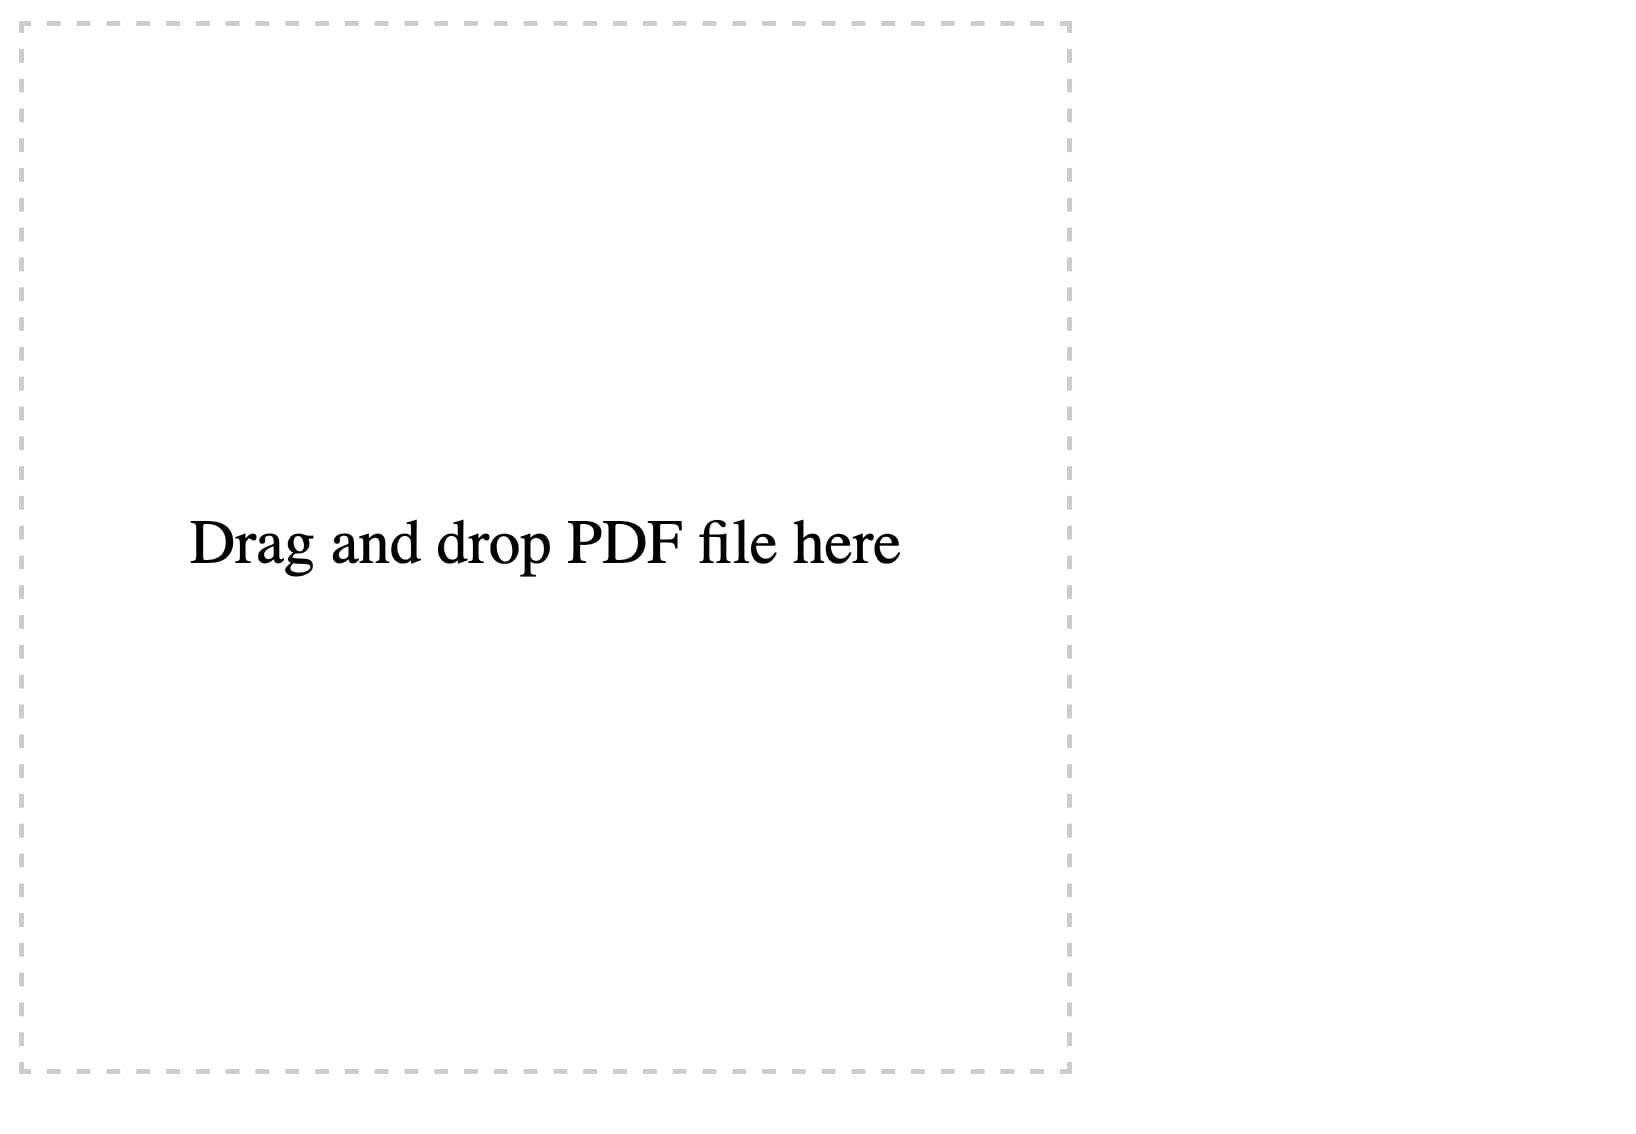
tools.simonwillison.net/ocr provides a single page web app that can run Tesseract OCR against images or PDFs that are opened in (or dragged and dropped onto) the app.
Crucially, everything runs in the browser. There is no server component here, and nothing is uploaded. Your images and documents never leave your computer or phone.
Here’s an animated demo:
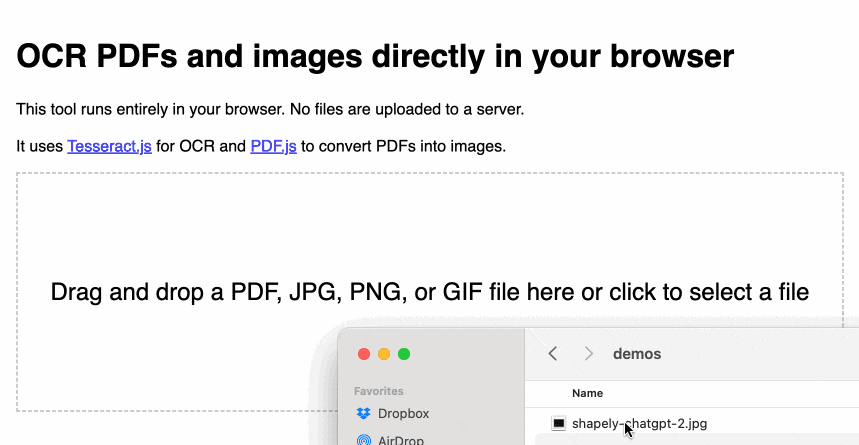
It’s not perfect: multi-column PDFs (thanks, academia) will be treated as a single column, illustrations or photos may result in garbled ASCII-art and there are plenty of other edge cases that will trip it up.
But... having Tesseract OCR available against PDFs in a web browser (including in Mobile Safari) is still a really useful thing.
How I built this
For more recent examples of projects I’ve built with the assistance of LLMs, see Building and testing C extensions for SQLite with ChatGPT Code Interpreter and Claude and ChatGPT for ad-hoc sidequests.
I built the first version of this tool in just a few minutes, using Claude 3 Opus.
I already had my own JavaScript code lying around for the two most important tasks: running Tesseract.js against an images and using PDF.js to turn a PDF into a series of images.
The OCR code came from the system I built and explained in How I make annotated presentations (built with the help of multiple ChatGPT sessions). The PDF to images code was from an unfinished experiment which I wrote with the aid of Claude 3 Opus a week ago.
I composed the following prompt for Claude 3, where I pasted in both of my code examples and then added some instructions about what I wanted it to build at the end:
This code shows how to open a PDF and turn it into an image per page:
<!DOCTYPE html>
<html>
<head>
  <title>PDF to Images</title>
  <script src="https://cdnjs.cloudflare.com/ajax/libs/pdf.js/2.9.359/pdf.min.js"></script>
  <style>
    .image-container img {
      margin-bottom: 10px;
    }
    .image-container p {
      margin: 0;
      font-size: 14px;
      color: #888;
    }
  </style>
</head>
<body>
  <input type="file" id="fileInput" accept=".pdf" />
  <div class="image-container"></div>

  <script>
  const desiredWidth = 800;
    const fileInput = document.getElementById('fileInput');
    const imageContainer = document.querySelector('.image-container');

    fileInput.addEventListener('change', handleFileUpload);

    pdfjsLib.GlobalWorkerOptions.workerSrc = 'https://cdnjs.cloudflare.com/ajax/libs/pdf.js/2.9.359/pdf.worker.min.js';

    async function handleFileUpload(event) {
      const file = event.target.files[0];
      const imageIterator = convertPDFToImages(file);

      for await (const { imageURL, size } of imageIterator) {
        const imgElement = document.createElement('img');
        imgElement.src = imageURL;
        imageContainer.appendChild(imgElement);

        const sizeElement = document.createElement('p');
        sizeElement.textContent = `Size: ${formatSize(size)}`;
        imageContainer.appendChild(sizeElement);
      }
    }

    async function* convertPDFToImages(file) {
      try {
        const pdf = await pdfjsLib.getDocument(URL.createObjectURL(file)).promise;
        const numPages = pdf.numPages;

        for (let i = 1; i <= numPages; i++) {
          const page = await pdf.getPage(i);
          const viewport = page.getViewport({ scale: 1 });
          const canvas = document.createElement('canvas');
          const context = canvas.getContext('2d');
          canvas.width = desiredWidth;
          canvas.height = (desiredWidth / viewport.width) * viewport.height;
          const renderContext = {
            canvasContext: context,
            viewport: page.getViewport({ scale: desiredWidth / viewport.width }),
          };
          await page.render(renderContext).promise;
          const imageURL = canvas.toDataURL('image/jpeg', 0.8);
          const size = calculateSize(imageURL);
          yield { imageURL, size };
        }
      } catch (error) {
        console.error('Error:', error);
      }
    }

    function calculateSize(imageURL) {
      const base64Length = imageURL.length - 'data:image/jpeg;base64,'.length;
      const sizeInBytes = Math.ceil(base64Length * 0.75);
      return sizeInBytes;
    }

    function formatSize(size) {
      const sizeInKB = (size / 1024).toFixed(2);
      return `${sizeInKB} KB`;
    }
  </script>
</body>
</html>
This code shows how to OCR an image:
async function ocrMissingAltText() {
    // Load Tesseract
    var s = document.createElement("script");
    s.src = "https://unpkg.com/[email protected]/dist/tesseract.min.js";
    document.head.appendChild(s);

    s.onload = async () => {
      const images = document.getElementsByTagName("img");
      const worker = Tesseract.createWorker();
      await worker.load();
      await worker.loadLanguage("eng");
      await worker.initialize("eng");
      ocrButton.innerText = "Running OCR...";

      // Iterate through all the images in the output div
      for (const img of images) {
        const altTextarea = img.parentNode.querySelector(".textarea-alt");
        // Check if the alt textarea is empty
        if (altTextarea.value === "") {
          const imageUrl = img.src;
          var {
            data: { text },
          } = await worker.recognize(imageUrl);
          altTextarea.value = text; // Set the OCR result to the alt textarea
          progressBar.value += 1;
        }
      }

      await worker.terminate();
      ocrButton.innerText = "OCR complete";
    };
  }
Use these examples to put together a single HTML page with embedded HTML and CSS and JavaScript that provides a big square which users can drag and drop a PDF file onto and when they do that the PDF has every page converted to a JPEG and shown below on the page, then OCR is run with tesseract and the results are shown in textarea blocks below each image.
I saved this prompt to a prompt.txt file and ran it using my llm-claude-3 plugin for LLM:
llm -m claude-3-opus < prompt.txtIt gave me a working initial version on the first attempt!
Here’s the full transcript, including my follow-up prompts and their responses. Iterating on software in this way is so much fun.
First follow-up:
Modify this to also have a file input that can be used—dropping a file onto the drop area fills that input
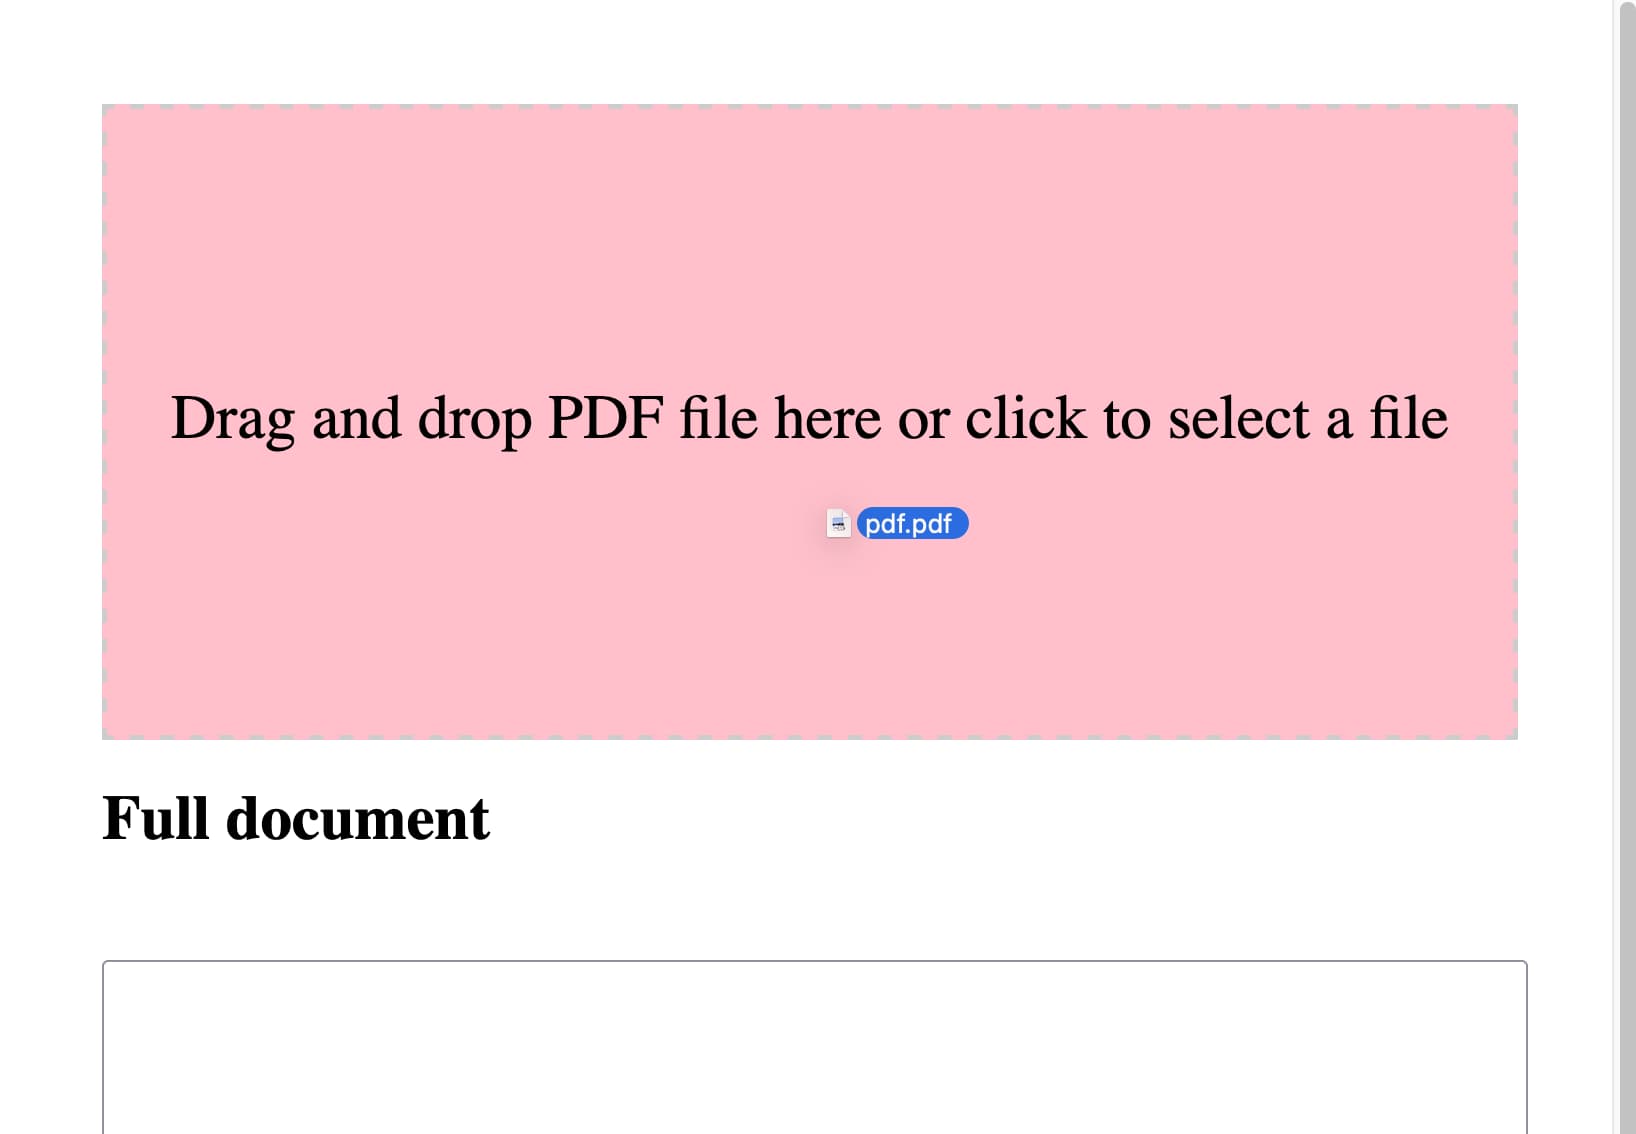
make the drop zone 100% wide but have a 2em padding on the body. it should be 10em high. it should turn pink when an image is dragged over it.
Each textarea should be 100% wide and 10em high
At the very bottom of the page add a h2 that says Full document—then a 30em high textarea with all of the page text in it separated by two newlines
Here’s the interactive result.
And then:
get rid of the code that shows image sizes. Set the placeholder on each textarea to be Processing... and clear that placeholder when the job is done.
I noticed that it didn’t demo well on a phone, because you can’t drag and drop files in a mobile browser. So I fired up ChatGPT (for no reason other than curiosity to see how well it did) and got GPT-4 to add a file input feature for me. I pasted in the code so far and added:
Modify this so jpg and png and gif images can be dropped or opened too—they skip the PDF step and get appended to the page and OCRd directly. Also move the full document heading and textarea above the page preview and hide it u til there is data to be shown in it
Then I spotted that the Tesseract worker was being created multiple times in a loop, which is inefficient—so I prompted:
Create the worker once and use it for all OCR tasks and terminate it at the end
I’d tweaked the HTML and CSS a little before feeding it to GPT-4, so now the site had a title and rendered in Helvetica.
Here’s the version GPT-4 produced for me.
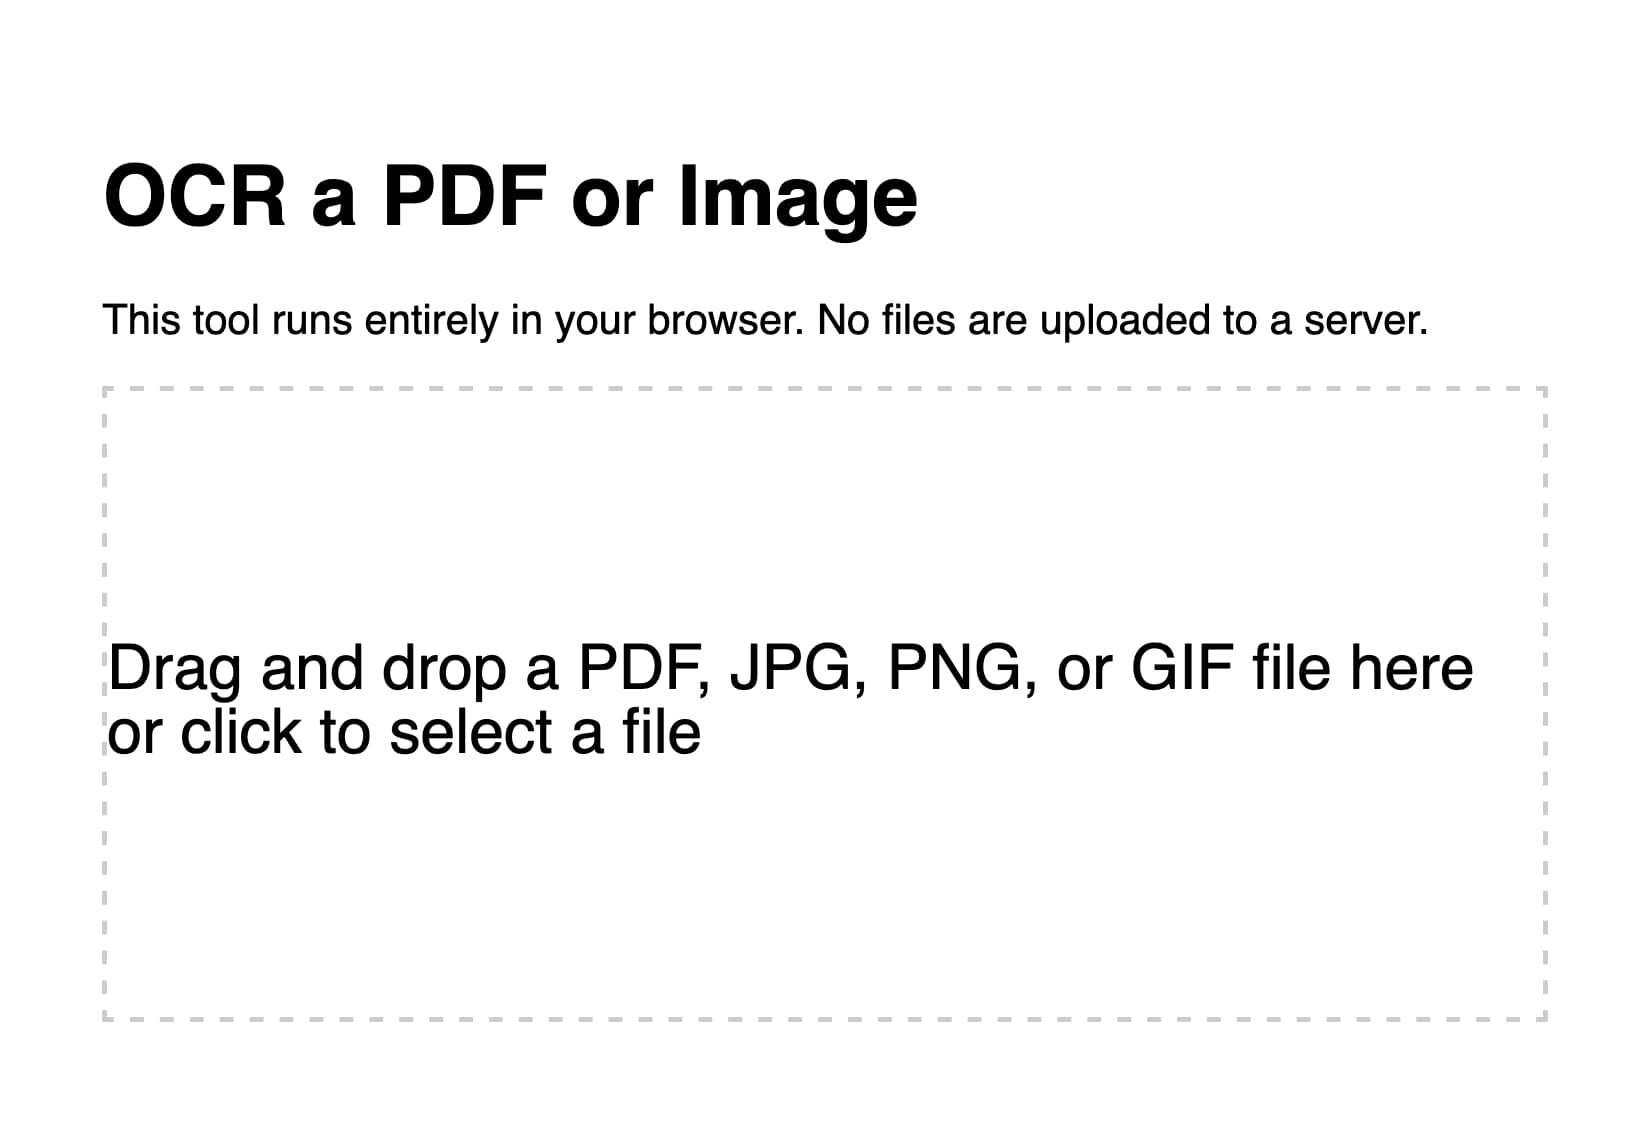
Rather delightfully it used the neater pattern where the file input itself is hidden but can be triggered by clicking on the large drop zone, and it updated the copy on the drop zone to reflect that—without me suggesting those requirements.
Manual finishing touches
Fun though it was iterating on this project entirely through prompting, I decided it would be more productive to make the finishing touches myself. You can see those in the commit history. They’re not particularly interesting:
- I added Plausible analytics (which I like because they use no cookies).
- I added better progress indicators, including the text that shows how many pages of the PDF have been processed so far.
- I bumped up the width of the rendered PDF page images from 800 to 1000. This seemed to improve OCR quality—in particular, the Claude 3 model card PDF now has less OCR errors than it did before.
- I upgraded both Tesseract.js and PDF.js to the most recent versions. Unsurprisingly, Claude 3 Opus had used older versions of both libraries.
I’m really pleased with this project. I consider it finished—it does the job I designed it to do and I don’t see any need to keep on iterating on it. And because it’s all static JavaScript and WebAssembly I expect it to continue working effectively forever.