Preface: I am going to speak mostly in regards to my hand in this as I don’t have solid understanding of the Wii U software and architecture and I don’t want to throw out incorrect information. Where needed I have provided quotes and screenshots so that the information provided is coming straight from the horses mouth.
Data recovery
Recently I have had the pleasure to work with an amazing and talented group of people. It starts off like this.
WiiCurious contacted me asking if I might possibly be able to recover some data from GameCube Memory Cards and SD Cards that were used in the Nintendo factory setup process for installing the software to the Wii and Wii U systems, respectively. Nintendo tried to destroy these Memory Cards and SD Cards by crushing them and bending them in the middle. By doing so, Nintendo did damage about 50% of the Memory Cards to the point that the main flash memory IC was busted and the die was broken, so no hope. About 25% of the cards were still functional with a little straightening and convincing and I was able to recover the data. The last 25% of the Memory Cards required some sort of soldering or rework to recover the data, most of them being that the PCB was damaged and the flash IC needed to be placed on a good working board. It was laboring work, but much important and never be for seen data was recovered. There were a couple of cards where the pins were broken off the flash IC and they required dremeling and some cutesy soldering tricks to pull off.

Factory GameCube Memory Cards Dumps for anyone interested.
Kelly was having her own hand in recovering data from Memory Cards and SD Cards as well and did some rather impressive work.
But this is not what this post is about. What we are talking about today is the new Wii U exploit discovered by legendary developer Rairii. This exploit takes advantage of a boot1 vulnerability that allows for code to be run from the SD Card upon boot.
Why did I go on this rant about data recovery of Memory Cards and SD Cards? Because WiiCurious got a great idea. The SD Cards that he sent me, about 25% of them had their NAND flash IC broken, but the other 75% only sustained damage to the PCB.
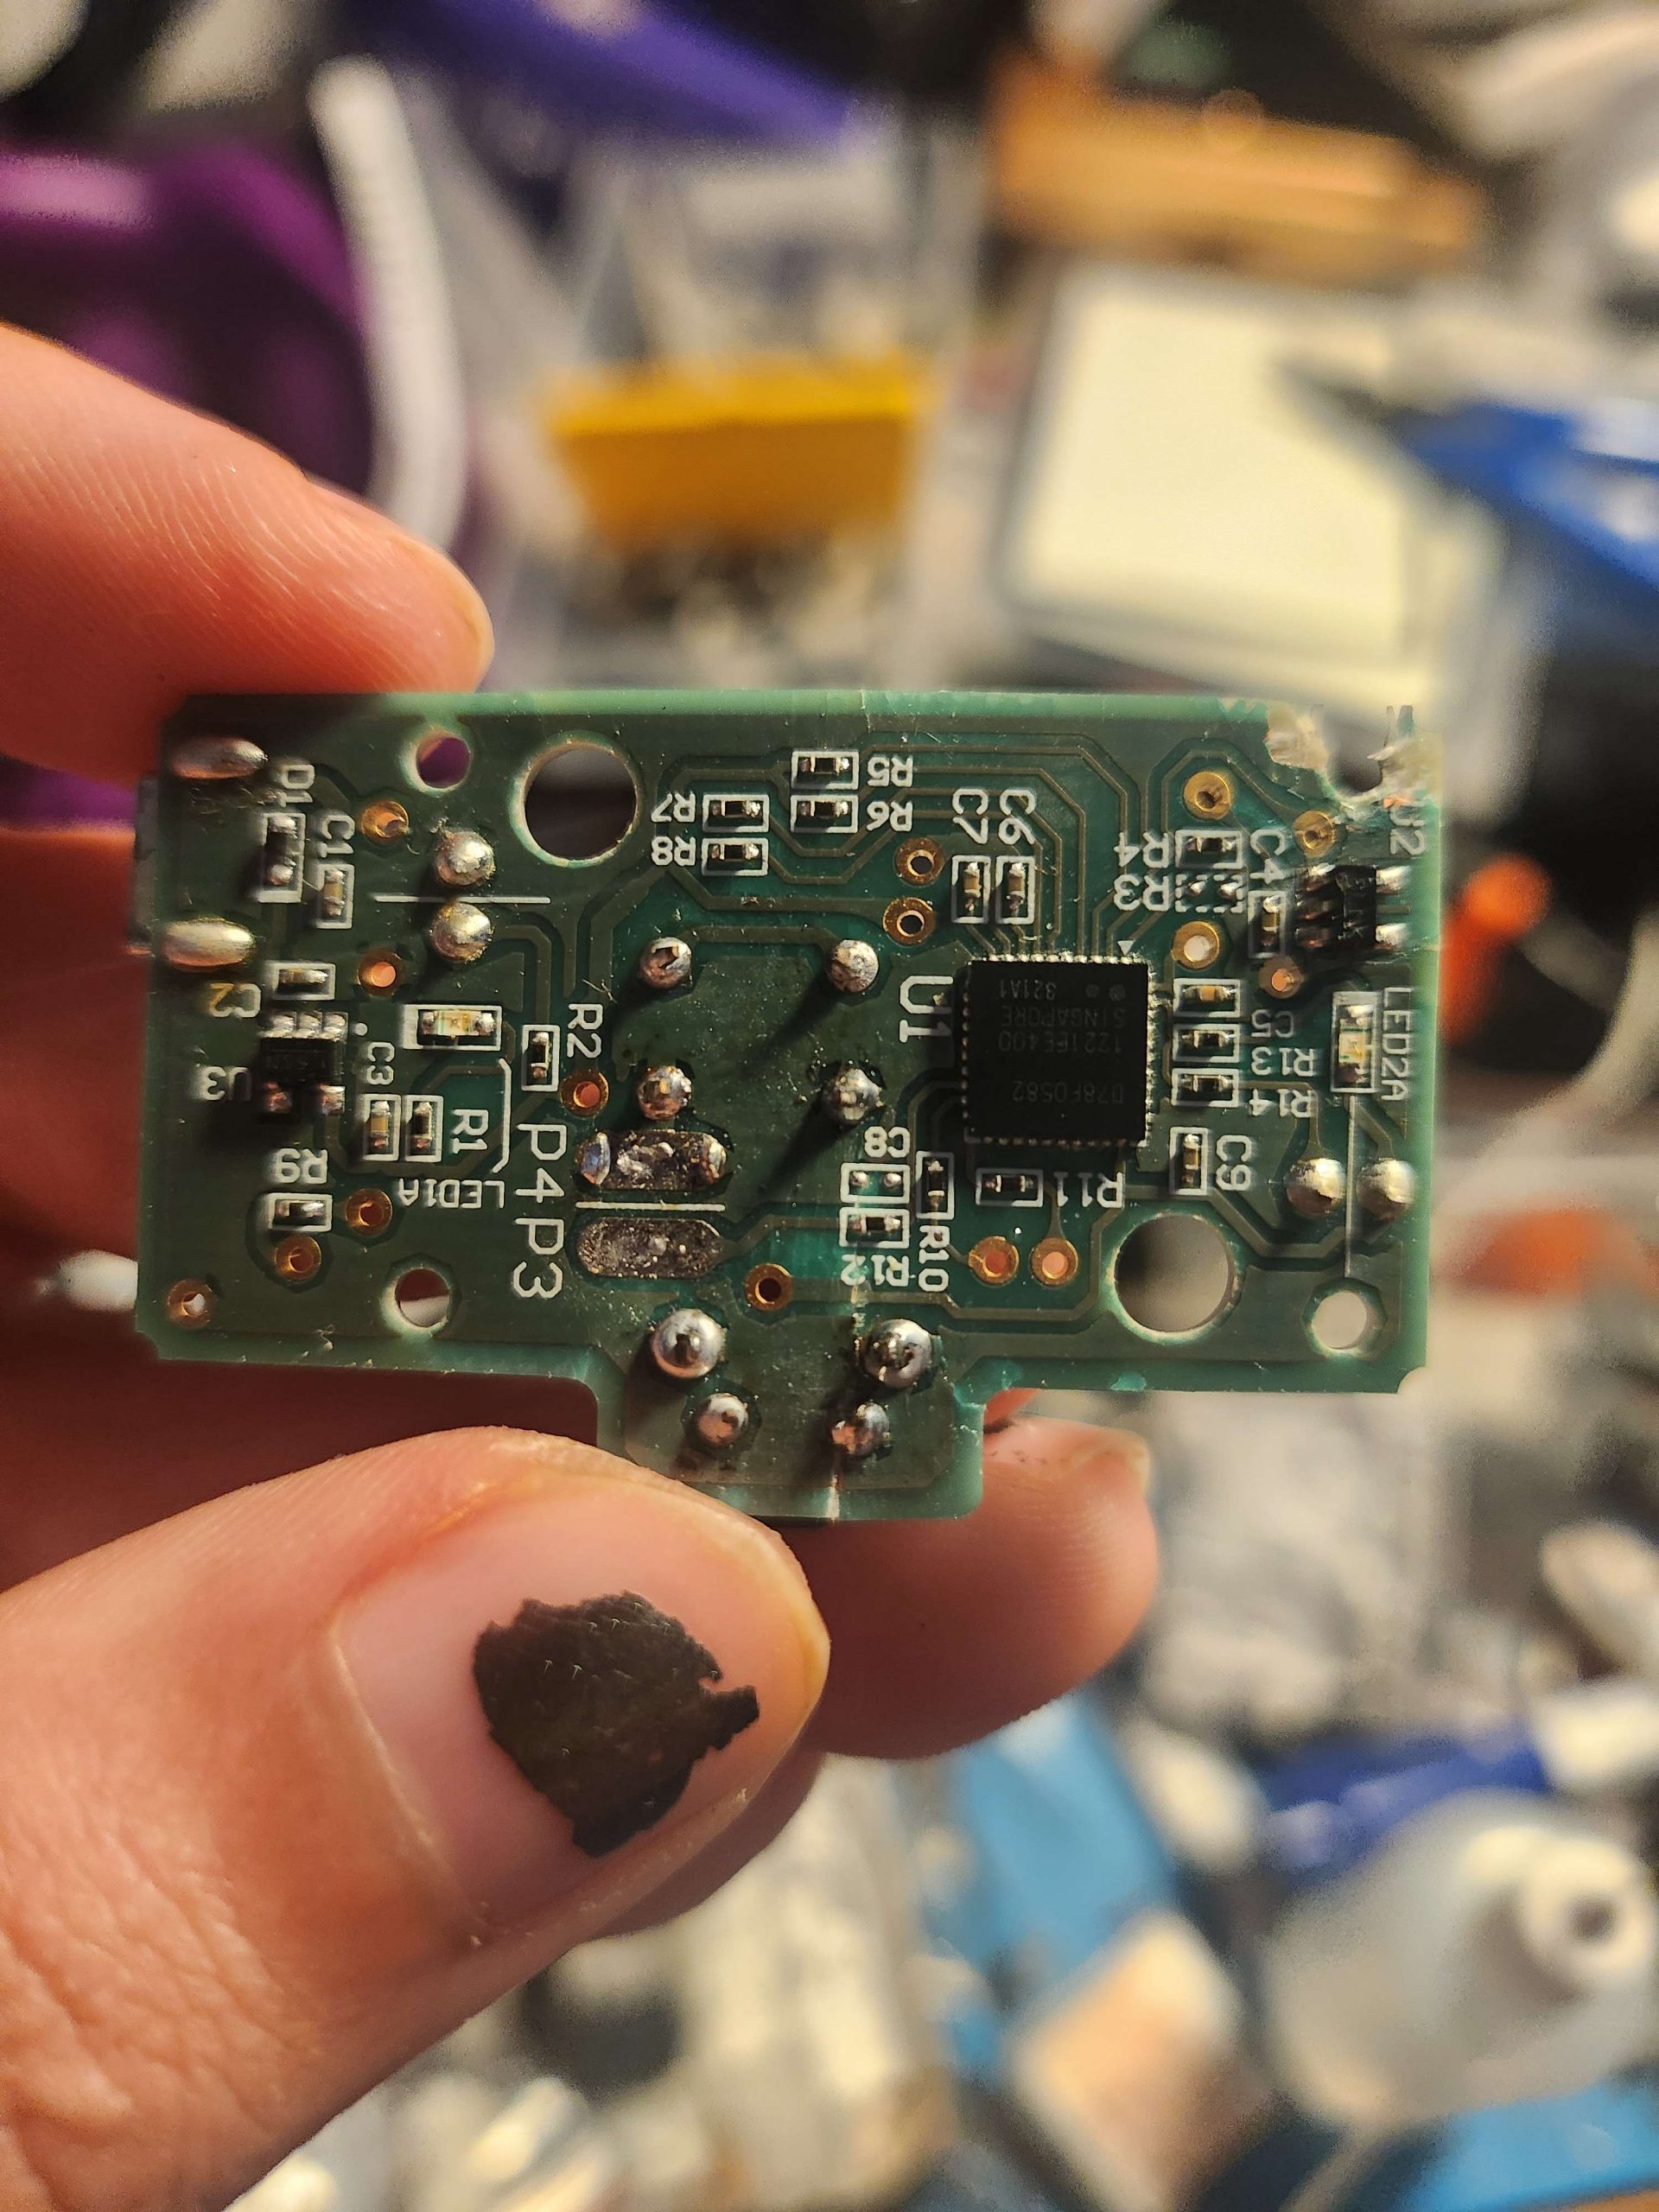
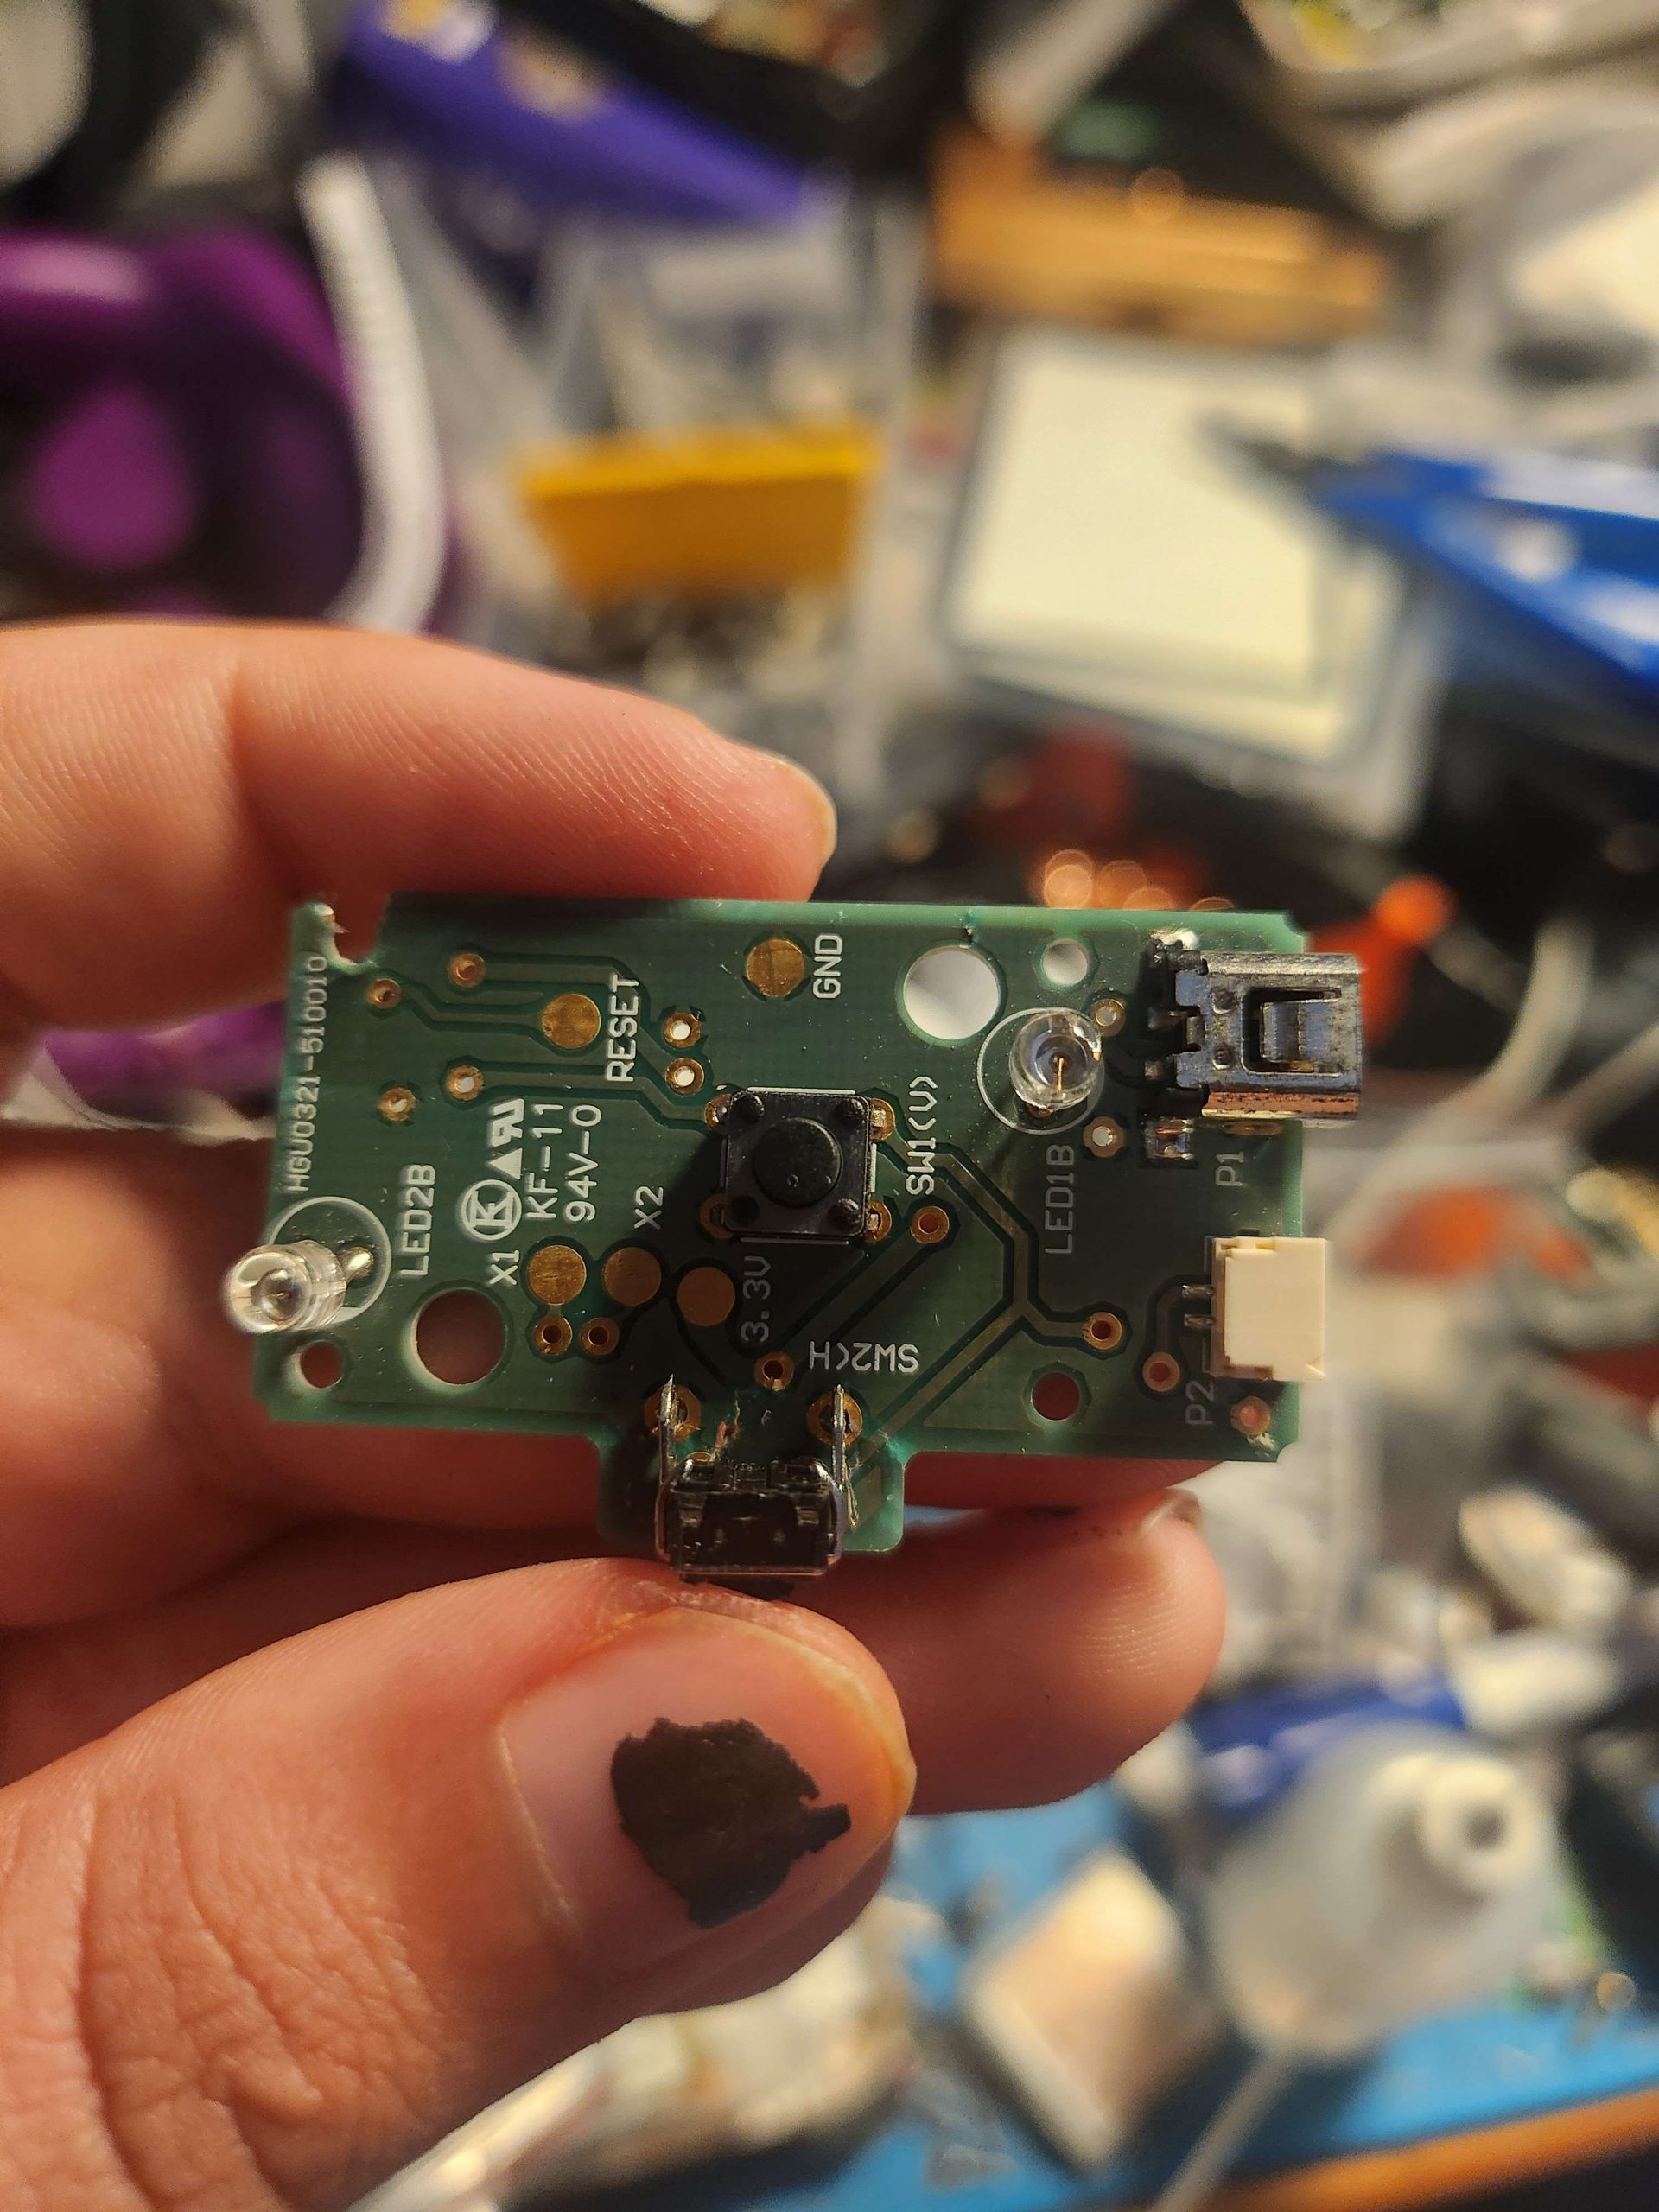
I have become known for my tricks with putting TSOP 48 clips on Wii’s and other devices so I can swap out the NAND chips on devices for external programming and repair. Well, these Toshiba 2GB SD Cards that Nintendo used a lot of in the Wii U factory process have TSOP 48 NAND flash IC’s. We tried to remove the NAND flash chips and dump the data with an external programmer, but none of the programmer devices that we have can work with NAND flash chips of that size. We would have to buy newer expensive devices to do so. Not only that, but the data placed on the NAND flash IC’s was manipulated by the SD Card’s controller chip, thus the data dumped directly from the NAND would not be a direct representation of what would be on the SD Card.
And this is where WiiCurious asked why don’t we just put a TSOP 48 clip onto a known good and working SD card in place of the NAND chip, and then we can easily just swap out the NAND chip. And with that, WiiCurious send me a handful of donor SD Cards and a few TSOP 48 clips.
I can not express how incredibly difficult it is to solder these TSOP 48 clips on to anything at all. They melt at a rather lower temperature. If the solder is melted, then the plastic of these will be soft and malleable. In most cases the solder pads of the PCB are the same size as the pins of the clip, making it impossibly difficult to see even with magnification. To solder these on you must tin the pads of the PCB first, then place the TSOP 48 clip directly on top of the peaks of the tinned pads. Finally you must reflow the solder. The right way to do it would be with a reflow oven and using solder paste with a stencil, but I do not have those. I do have my infrared preheater which works well enough for these things.
But these SD Cards posed an extra unique challenge. The PCB’s are very thin and they bend easily and can warp with heat. Not only that, but most of these donor SD Cards were already warped to begin with. I had to carefully select the ones that I though could be most viable and do what I could. The other consideration is that the controller chips is a direct die on PCB with a black blob. I have a feeling that those also are susceptible to damage from heat and warping.
With that said, my first attempt was successful and I was able to dump eight NAND flash IC’s using it before it started showing signs of failure. I expected these to not have a long shelf life because to latch and unlatch these TSOP 48 clips required a bit of force, and with how thin and flexible the PCB’s are, I knew that they would not last long. I did try to mitigate this with some hot glue, which I believed help prolong the life a little. And luckily, since I did only use hot glue, I should be able to easily remove it and reflow the PCB again and hopefully fix it if it is just a broken solder joint that is causing it to become flaky.
I created three more of them, but I was trying to do them all at once which wasn’t helping. Out of the batch of three, only one worked. That is not bad. Considering that I find myself having a 50% failure rate when soldering on these TSOP 48 clips anyways, I find it acceptable given the added challenges with the thin PCB’s.
In total, I was able to recover the data from 14 SD Cards that Nintendo tried to destroy.
About the found Wii U exploit. I had shared the SD Cards images within our group. Rairii got to work discovering a few nice things within the dumps, but nothing ground breaking.
Then Rairii found something of specific interest on SDCard14.
SDBoot1
sdboot1.ancast
sdboot1.ancast.img
sdboot1_20000000.ancast
sdboot1_20000000.ancast.img
We struck gold. This is what we were hoping to find within the SD Card dumps, and by rare chance of luck, we did.
In short, SDBoot1 is a function that is used in the factory for initial software setup and for servicing the console and Rairii quickly found a vulnerability in it that would allow us to run our own code at boot.
paid the beak
Rairii found a flaw in SDBoot1 and wrote an exploit that he coined “paid the beak”.
This exploit allows the user to execute code upon boot or repair their Wii U from almost any kind of a software brick. As SDBoot1 can even be executed without any data on any of the internal flash memories, the only kind of bricks that can not be recovered from with this exploit are Seeprom bricks and hardware failures.
The following file is the paid to beak exploit. You will also need to append a plaintext fw.img to the end of the file before flashing to SD Card.
SDBoot1 and the exploit are only 1 part of this equation.
UNSTBL_PWR Factory Jig
To trigger SDBoot1, Nintendo used a special jig in the factory and service centers. This jig triggers a flag, UNSTBL_PWR.

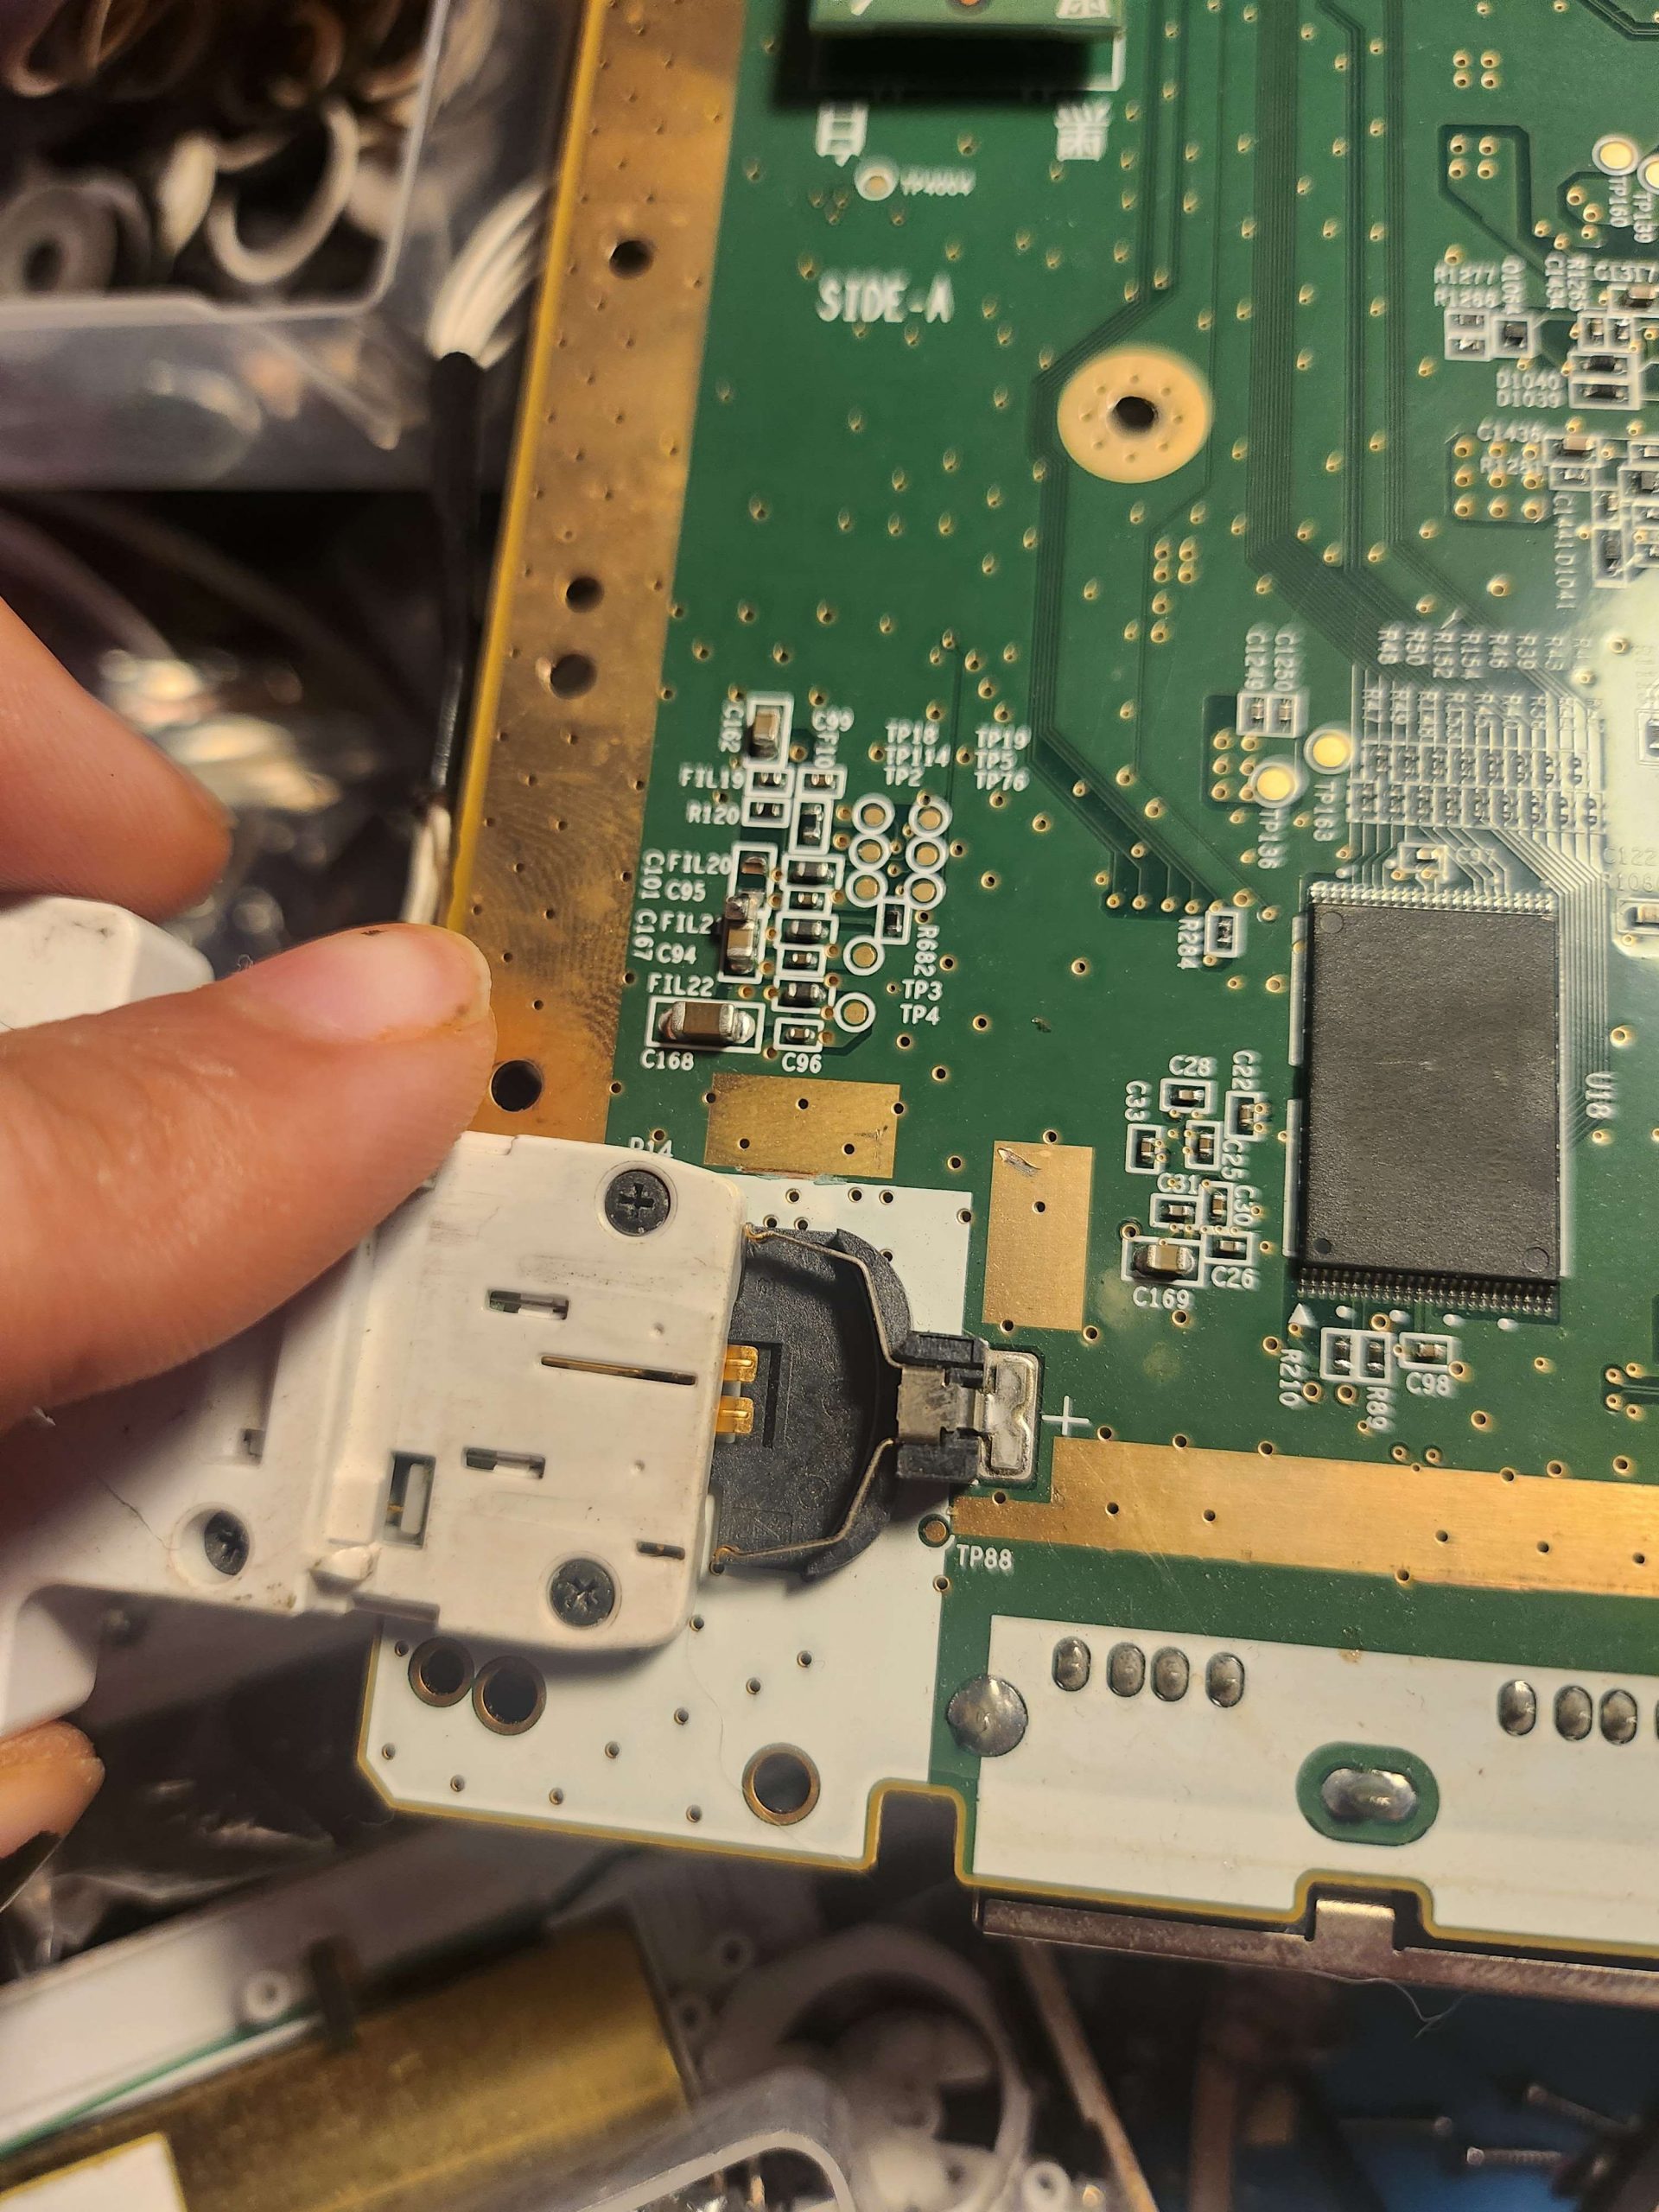
This factory jig gets inserted into the CR2032 battery slot. The jig has 2 contact points that interface with the Wii U’s motherboard. The first one is ground, which just makes contact to the ground of the battery slot. The second contact connects to TP73, which is indirectly connected to the positive terminal of the CR2032 connector. The factory jig has buttons on it that when you press them it flashes a blue LED to indicate that it is working. The same signal is sent to the line that connects to TP73. The pattern that it sends will trigger the UNSTBL_PWR flag if sent during code execution of Boot1.
Only a few people currently have their hands on these jigs, and very few of them survived Nintendo’s attempt at destruction. Our friend Kelly has gotten her hands on a few of these jigs and has at least one in working order.
Raspberry Pi Pico UNSTBL_PWR
With the above videos to go on for reference, Jan was able replicate the signal enough to trigger the UNSTBL_PWR flag using a Raspberry Pi Pico.
First you must install MicroPython to your Pi Pico. After flashing a COM port will appear on your PC.
Connect ground of the Pi Pico to ground of the Wii U
Connect TP73 or the positive terminal of the CR2032 contacts of the Wii U to any of the following Pi Pico GPIO’s: 14, 15, 16, 17
Connect your Pi Pico to your PC via USB cable
Use Thonny to connect to the COM port of the Pi Pico and then execute the following code.
#Pi Pico UNSTBL_PWR Jig by Jan
from machine import Pin
from time import sleep_ms

pins = [Pin(gpio,Pin.OUT) for gpio in [14,15,16,17]]

timings = [8, 18, 16, 33, 41, 37, 8, 18, 29, 8, 18, 16, 16, 70, 100]

def run_timings(off):
    v = 0
    for t in timings:
        for p in pins:
            p.value(v)
        sleep_ms(t+ (-off if v else off))
        v = 1-v
    print(v)
while True: run_timings(0)
I did cut a ton of timings from Jan’s original code and found that the above code is all that is needed to trigger UNSTBLE_PWR. You mileage may vary.
The following is the full set of original timings in Jan’s code.
timings = [66, 16, 16, 18, 16, 16, 16, 18, 16, 16, 16, 18, 16, 16, 16, 18, 16, 16, 16, 18, 16, 16, 16, 18, 16, 16, 16, 18, 8, 18, 16, 18, 8, 18, 16, 33, 45, 33, 16, 16, 91, 18, 16, 33, 41, 37, 8, 18, 29, 16, 16, 18, 16, 16, 16, 18, 16, 16, 16, 18, 16, 16, 16, 18, 8, 18, 16, 18, 8, 18, 16, 18, 8, 18, 16, 18, 8, 18, 16, 16, 70, 100]PICAXE 08M2 UNSTBL_PWR
Seeing how to trigger the flag using a Pi Pico, I decided to see if I could make it happen with my very favorite PICAXE 08M2 microcontroller. The PICAXE series of microcontrollers uses a very stripped down version of the BASIC programming language.
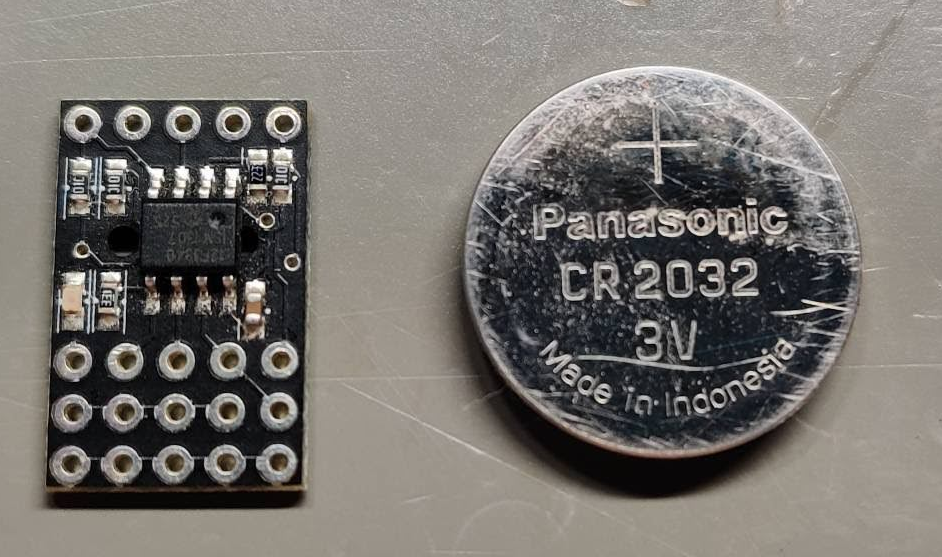
The following code will trigger the UNSTBL_PWR flag when you connects grounds and then Pin 4 of the 08M2 to TP73 or the positive terminal of the CR2032 contacts of the Wii U.
setfreq m4
low 4
do
toggle 4
pause 18
toggle 4
pause 16
toggle 4
pause 33
toggle 4
pause 41
toggle 4
pause 37
toggle 4
pause 8
toggle 4
pause 18
toggle 4
pause 29
toggle 4
pause 8
toggle 4
pause 18
toggle 4
pause 16
toggle 4
pause 16
toggle 4
pause 70
toggle 4
pause 100
loopI will be the first to admit, the code is just stupid. Unfortunately arrays can not be used in this version of BASIC nor can you pass syntax or arguments to subroutines to help make this code any prettier. It is at least as simple and straight forward as it can get.
Warning: The PICAXE 08M2 chip can be powered with anything between 3v and 5v. Whatever voltage you use to power it will also come out Pin 4. You should not use more than 3.3v to power it or you will have to devise a voltage divider. The factory jig uses 3.3v. I did confirm that the flag will still trigger when the 08M2 is powered by a 3v CR2032 battery. The Pi Pico only puts out ~3.3v as well.
A couple benefits to using the 08M2 series PICAXE chips are that the 08M2LE variant can be bought for as cheap as $1.12 USD, only needs just three supporting components, and a really small footprint when compared to a RP2040. This jig clone and code should work on any PICAXE variant without the need to change any code besides the pin that gets toggled.
Running the paid the beak exploit
You can use either of the two Jig clones above, or I am sure you can get crafty and use an arduino, teensy, or nearly anything else to trigger the UNSTBL_PWR flag. If you choose to try to program your own, the timings are kind of important. As noted by GerbilSoft, these timing seems to fall in with what a 30hz or 60hz signal would look like, but with some blips that would make it look like a dirty signal, or unstable power.
The following SD Card image contains both the paid the beak exploit and the minute software.
Flash SDBoot1-Minute.bin to a SD Card (non-SDHC, 2GB or less) using balenaEtcher or similar software.
Put the flashed SD Card into your Wii U.
Use your Jig or Jig Clone.
Power on your Wii U console.
If successful you will see similar results as the following video with the Wii U’s blue power LED blinking and the output to the screen.
If you only get a black screen then your SD Card may be incompatible. Any other issues, I don’t know. Dont ask me. We’re still learning. Consider this post to be incomplete.
Conclusions
While Defuse can achieve what paid the beak can do and fix Seeprom bricks as well, it requires tearing down your console, soldering, and a little deeper understanding of microcontrollers.
Using the Pi Pico to mimic the battery jig is a great solution because nearly every tinkerer has a Pi Pico, but it currently requires the user to load the code each time you plug it in and must be connected to your PC. Efforts are being made to make it into a .uf2 file to not need MicroPython and Thonny.
The greatest benefit to paid the beak is that it can be made into a solution that requires no soldering or opening of the console and it then becomes more accessible to even more people. I expect that it will not be long before we have 3d printed jigs and already built solutions available in online stores.
It’s been a while since I have done anything with the Wii U. I never got too deep into it before. I have a soft spot for the Wii and always just focused more on that instead. I will probably start playing with the Wii U more. This was a team effort that organically came about from certain things that just happened to fall right in to place with the right group of people and luck was on our side.
I want to greatly thank WiiCurious for bankrolling this project, having the contacts to get it all, and for given me the incredible opportunity to take part in it. Thank you to Rairii for his amazing brain and finding the data in the SD Card dumps and then the exploits. Thank you to Kelly for all your contributions. Thank you Jan for the Pi Pico PicroPython code that I used as a basis for my clone. Thank you to the SALT team and Jan for minute. Thank you to Rare Gaming Dump for it is the great community that this project sprung up from.
This has been immensely fun to collaborate and work on this project with all of you and to have such an important roll in making it happen was one of the most rewarding things to happen in the longest time.
–DeadlyFoez